DIY Motion-Activated Relay Control using Arduino
Introduction
Have you ever wanted to create a simple motion-activated project using Arduino? In this tutorial, we'll guide you through building a motion-activated relay control system using a Passive Infrared (PIR) sensor and an Arduino board. This project is perfect for beginners and provides a hands-on introduction to working with sensors and actuators.
Components Needed
- Arduino board (e.g., Arduino Uno)
- Passive Infrared (PIR) sensor
- Relay module
- Jumper wires
- Breadboard
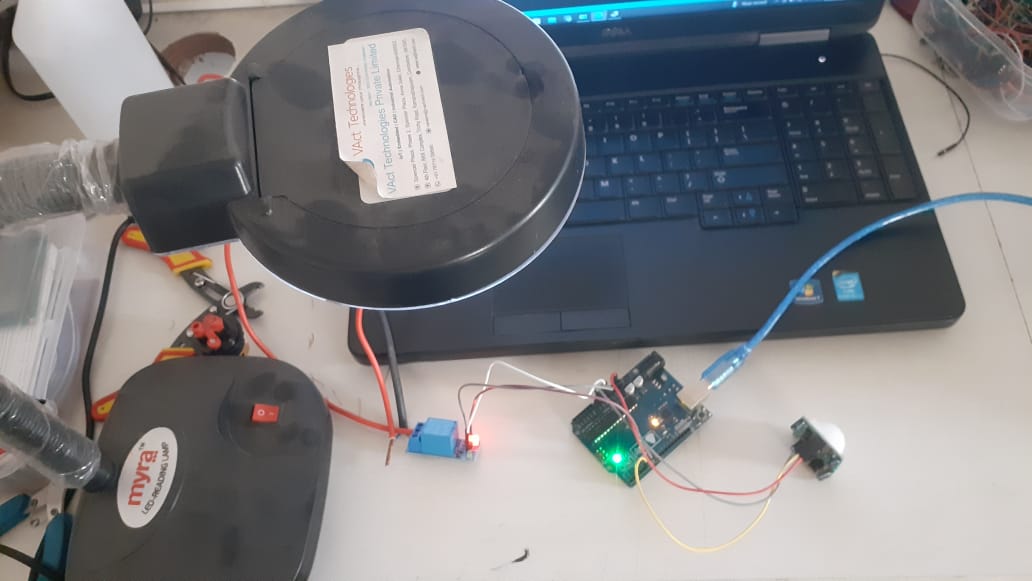
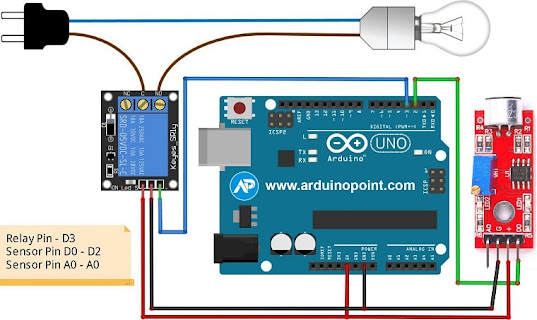
Wiring the Components
First, let's set up the hardware. Connect the PIR sensor and relay module to the Arduino as follows:
PIR sensor:
- Connect the sensor's VCC pin to 5V on the Arduino.
- Connect the GND pin to GND on the Arduino.
- Connect the OUT pin to digital pin 5 on the Arduino.
Relay module:
- Connect the VCC pin to 5V on the Arduino.
- Connect the GND pin to GND on the Arduino.
- Connect the IN or signal pin to digital pin 6 on the Arduino.
Ensure that your connections are secure and double-check the specifications of your relay module for any additional requirements.
Arduino Code
Now, let's write the Arduino code to control the relay based on motion detection. Use the following code:
// Include the necessary libraries const int pirPin = 5; // Digital pin connected to the PIR sensor const int relayPin = 6; // Digital pin connected to the relay module void setup() { pinMode(pirPin, INPUT); // Set PIR sensor pin as input pinMode(relayPin, OUTPUT); // Set relay control pin as output Serial.begin(9600); // Initialize serial communication for debugging (optional) delay(20000); } void loop() { int pirState = digitalRead(pirPin); // Read PIR sensor state (HIGH or LOW) if (pirState == HIGH) { // Motion detected Serial.println("Motion detected!"); // Activate the relay digitalWrite(relayPin, HIGH); delay(1000); // Delay for 1 second (adjust as needed) // Deactivate the relay digitalWrite(relayPin, LOW); } else { // No motion Serial.println("No motion detected."); } }

Testing the Project
Upload the code to your Arduino board and power it up. Open the serial monitor to view the debugging messages. When motion is detected, the relay should activate for a brief moment.
Conclusion
Congratulations! You've successfully created a motion-activated relay control system using Arduino. This project serves as a foundation for more advanced home automation projects, security systems, and interactive installations. Feel free to experiment and expand upon this project to suit your needs.
.jpeg)

Comments
Post a Comment